Herbs, Gardening for Beginners
Drying Herbs – A Simple Guide
Mar
Summer has just been and gone. If you enjoy using herbs to flavour your dishes all year round, here are some ideas to make the most of your herb garden while it’s flourishing through the warmer months, to keep the enjoyment lasting through the colder months when growth slows and sometimes stops.
Herbs respond really well to being dried out. Have you considered drying them to use later for flavouring stews and other hearty winter meals? The options are limitless.
Drying herbs by hand
To dry herbs by hand, all you need to do is follow these steps:
- Pick a bunch of fresh herbs from your garden while the shoots are tender and fresh. Discard any herbs with damaged or blemished leaves. Plan to dry the herbs as soon as they’re picked to ensure maximum flavor and freshness
- Wash if needed and carefully pat dry with kitchen towel
- Tie the bunch at the base with string or garden twine
- To avoid dust settling on the leaves, place your bunch in a paper bag and secure the bag with the same type of string or garden twine. For ventilation, poke holes in the paper bag.
- Hang the herbs upside down and dry for approx. 2 weeks in a cool ventilated place such as a pantry
- After sufficiently dried and crumbly, place the dried herbs in an airtight container to enjoy all year round
- Don’t forget to label your dried herbs for easy identification later in the year
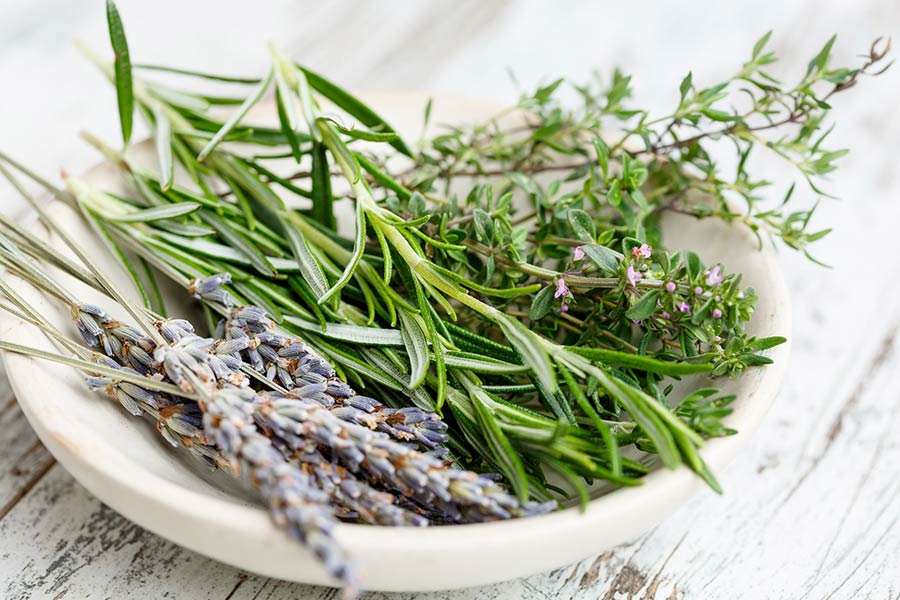
Best herbs for drying
To get the best results, choose herbs that have strong hardy leaves such as bay leaves, thyme, rosemary or sage. These types of herbs can withstand the drying process well and will give you the best results. Herbs with soft and tender leaves such as coriander, basil, tarragon and lemon balm have a high moisture content and will go mouldy if not dried quickly. If you live in a humid location, keep this in mind.
Drying herbs in a microwave
A microwave can be used to dry herbs, but proceed with caution and follow these steps:
- If washing herbs, ensure every drop of water his dried from the leaves otherwise the herbs will cook instead of dry out.
- Don’t overcrowd herbs in the microwave. Spread them out carefully and for best results place a paper towel over them.
- Microwave on high for approx. two minutes then check to see if they are dried.
- If they are not brittle, place back in the microwave on high for another 30 seconds.
- Place on a cooling rack and when cold, place in an airtight container and store in a cool dry place.
Top 3 Tips for using dried herbs in cooking
Dried herbs can bring your food to life during the months when you don’t have an abundance of them in the garden. They are an excellent addition to many dishes and provide wonderful flavour all year around.
- When using dried herbs, they have a much more concentrated flavour. Use them sparingly. As a guide, 1 teaspoon of dried herbs is equivalent to 1 tablespoon (3 teaspoons) of fresh herbs.
- To release their aromatic oils, either crush them up in the palm of your hand or gently rub them between your fingers before using.
- Always add dried herbs either at the start or middle of the cooking process. This allows the flavour to be absorbed by the food.